How to Ship Art Prints: Tips for Safe and Affordable Mailing
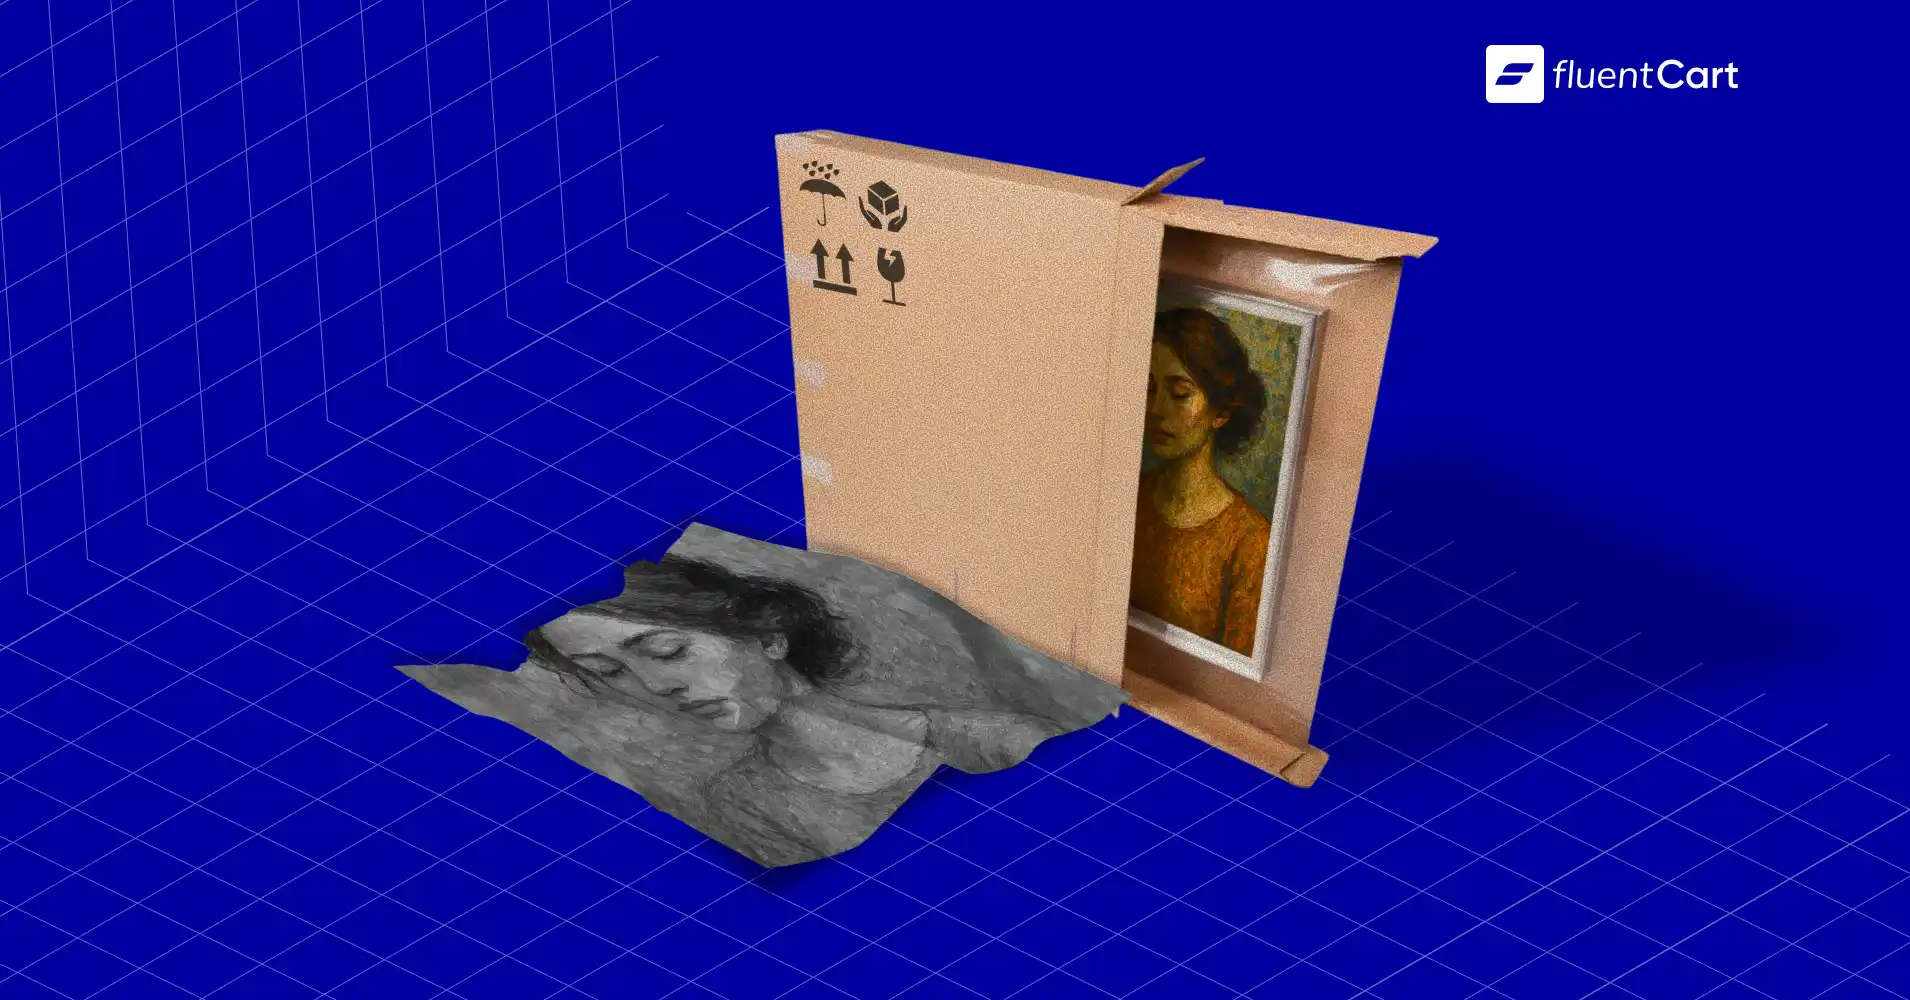
Shipping art prints can feel deceptively simple. They are flat, lightweight, and easy to pack at first glance. Yet every artist who has mailed their work knows the truth. One bent corner, a smudge, or a curl is enough to ruin a customer’s excitement and hurt your reputation.
The good news is that safe and cost-effective shipping is less about luck and more about using the right method. There are a few proven techniques, and if you can cut damage claims dramatically while keeping costs predictable.
TL;DR
- Ship flat for small prints, roll only for larger sizes to avoid curls or bent corners.
- Use archival sleeves, rigid boards, and padding so prints stay protected in transit.
- Follow clear packing steps for small and large prints to keep shipments consistent.
- Account for USPS nonstandard surcharges like tube shape and length fees before pricing.
- Treat 11×17 as a special case by comparing flat mailers against tubes to prevent losses.
Quick Decision Guide
The first choice every seller makes is whether to ship flat or rolled. The answer isn’t about your personal preference. It depends on the size of the print and the paper stock you use.
| Choice | Use When | Why |
| Ship Flat | 11×14 or smaller | No curl, strong corner protection, quick to pack |
| Ship Rolled | 16×20 or larger | Flat becomes impractical. Use wide tubes and pad ends |
| Your Call | 11×17 | Flat if you can source rigid mailers. Tube if not |
Flat Shipping vs Tube Shipping
Myth Busted: Tubes are not always cheaper. USPS adds a $4 nonstandard shape fee for cylindrical tubes or rolls. USPS also adds length fees. Between 22 and 30 inches adds $4. Over 30 inches adds $8.40 for Ground Advantage and $18 for Priority Mail.
Materials That Actually Work
Most damage happens not because postal workers are careless, but because the wrong materials are used. A little planning on your packing table saves a lot of frustration later.
Essential Materials:
- A protective layer for the print surface. A glassine sleeve or archival bag.
- Rigid support, ideally two boards thick, so the package cannot flex.
- Padding or corner protection to keep edges sharp.
Good tape and a moisture barrier finish the job. Especially this is important if you ship internationally, where packages can sit for weeks in transit.
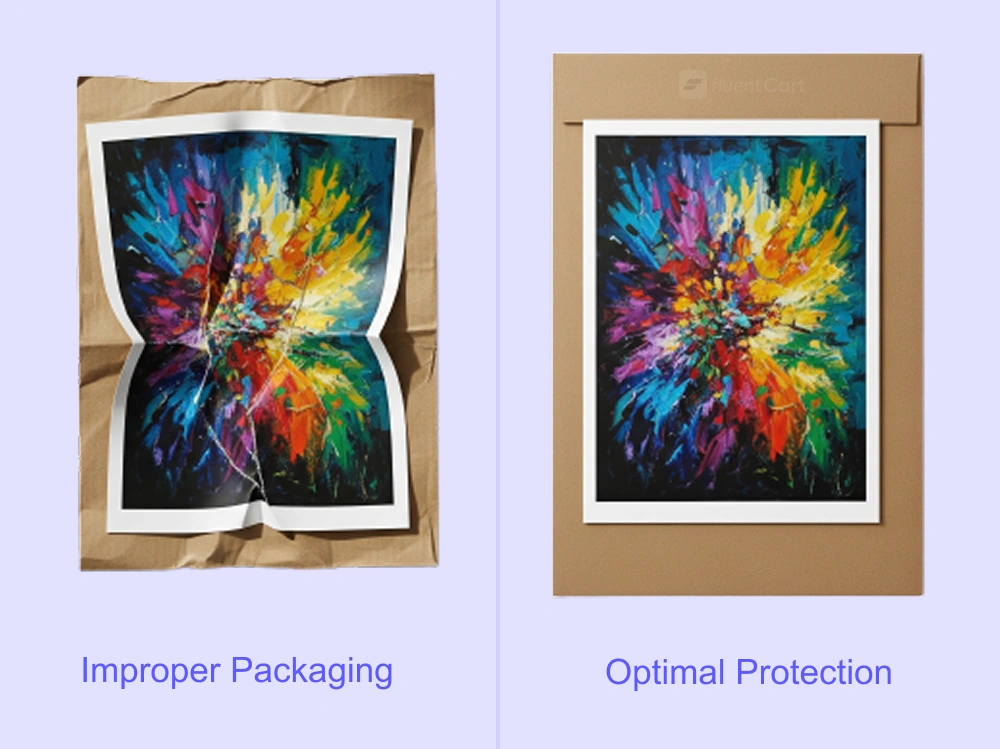
Mistakes to Avoid
Do not let bubble wrap touch the print. Interleave glassine or tissue first or the bubbles can emboss the surface.
• Do not use tubes smaller than 3 inches in diameter. Curl gets worse as the tube narrows.
• Do not leave empty space inside any mailer or tube. Fill gaps so nothing slides.
• Do not rely on “Do Not Bend.” USPS does not guarantee special handling for that wording, and the Special Handling – Fragile extra service was discontinued. Pack so bending does not matter.
Remember: if you print at home, let the ink cure first. Give light prints at least 24 hours before packing, and heavy saturation or glossy stocks 48 to 72 hours. And, if there are dark areas that smudge when touched, the print is not ready.
Step-by-Step Packing Methods
Different sizes call for different approaches. Here are two reliable workflows that professional sellers use daily.
Small Prints: Flat Shipping (≤ 11×14)
Flat mailers are best for small and medium prints. They keep artwork pristine and avoid curl altogether.
- Place the print in a glassine sleeve slightly larger than the print.
- Sandwich it between two rigid boards that extend 2 to 3 inches past every edge.
- Tape the boards together around the perimeter. Never tape over the print.
- Slide the sandwich into a rigid stay-flat mailer or snug box.
- Fill any remaining space with padding that does not touch the print surface.
- Seal and label on a flat face.
Quick Tips: The print cannot move in the sleeve. Make sure the boards overhang all edges by at least 2 inches. Lastly, no empty space remains in the outer mailer.
Large Prints: Tube Shipping (≥ 16×20)
When a print becomes too big to ship flat affordably, a tube is the practical option.
- Sleeve the print in glassine.
- Lay face down on kraft sheet to roll with a separator.
- Roll loosely around a 3 inch or larger core.
- Secure the kraft sheet only. Do not tape the print.
- Pad both ends so the roll cannot shift.
- Cap firmly and tape the caps.
Check your work: The tube is wide enough, the print unrolls cleanly, and the padding stops it from sliding inside.
Real Shipping Costs and Trade-offs
Packaging decisions only work if the price makes sense. USPS updated its structure in 2024, and nonstandard fees matter more than ever.
Here are the surcharges that catch sellers by surprise:
- Ground Advantage: $4 for 22–30 inches long, $8.40 for over 30 inches, $18 for over 2 cubic feet, and $4 for any cylindrical tube.
- Priority Mail: $4 for 22–30 inches, $18 for over 30 inches, $30 for over 2 cubic feet, plus the $4 tube fee.
- Dimension Noncompliance Fee: $1.50 if you omit or misstate package dimensions on the label.
- Insurance: Ground Advantage includes $100 of coverage automatically. You can purchase more if needed.
Watch out: long tubes can end up costing more than a flat box. Always compare the real costs before you set customer pricing. And forget about Media Mail. USPS does not allow standalone art prints under that rate.
Edge Cases and Advanced Tips
Some shipments fall outside the obvious flat-or-tube decision. These need a little extra planning.
1. The 11×17 Dilemma
This in-between size frustrates many sellers. The safest approach is to find rigid 11×17 mailers and keep them in stock. If they are unavailable, roll the print in a wide tube and factor in the surcharge before you list your shipping price.
2. International Shipping
Moisture is the enemy on long routes. Double-bag prints with a sleeve and an outer plastic barrier. Choose stronger outers like double-wall tubes or reinforced boxes. Complete customs forms carefully to prevent delays.
3. High-Value Prints
Expensive or limited edition prints deserve extra care. Add corner protectors to flat shipments, use wider four-inch tubes for rolled work, and purchase insurance that covers the replacement value.
The fees that change your decision
When you set your prices, remember it’s not only about weight. USPS adds extra fees for certain shapes and sizes, and those charges can change which method makes sense.
- Ground Advantage nonstandard fees: $4 for 22–30 inches in length. $8.40 if over 30 inches. $18 if over 2 cubic feet. $4 for nonstandard shape such as a cylindrical tube or roll.
- Priority Mail nonstandard fees: $4 for 22–30 inches. $18 if over 30 inches. The tube shape fee applies here too.
- Dimension Noncompliance Fee: $1.50 if you ship commercially and omit or misstate dimensions on qualifying parcels. Add the dimensions on the label to avoid this.
- Insurance: Ground Advantage includes $100 of insurance by default. You can purchase more.
Watch out: Long tubes can flip a “cheap” shipment to expensive once the over-30-inch fee hits. Compare a wide tube against a custom flat box for your exact size before you set your product pricing.
Media Mail reminder: Media Mail is for specific educational media. Standalone artwork or prints do not qualify unless mailed with eligible manuscripts.
Smart Shipping Setup for Print Sellers
Configure your rates so they match real packaging. Under-charging on shipping drains margins.
Key features you need:
• Size-based pricing that splits flat versus tube methods
• Zone pricing that matches carrier zones
• International rates and realistic handling time
• Automatic tax on shipping where required
• Insurance options for high-value orders
Add product rules that mirror the fees in this guide so shoppers see accurate totals.
The Bottom Line
Small prints ship flat in rigid mailers. The same principles apply when mailing books also. Large prints ship in wide tubes. Everything else depends on packaging availability and the real surcharges in your market. Use the size rules, board overhang, drying times, and USPS fee list in this guide and your prints will arrive clean and flat.
Frequently Asked Questions

Deputy Marketing Lead, published literary author, and musician. I thrive on marketing for tech companies while composing music, collecting books of lasting depth, exploring cinema with a discerning eye, and studying the arts and history.

Subscribe now
Related Articles and Topics
-
What Is a Trade Show? Meaning, Types, and Purpose Explained
A trade show is where businesses display products to industry buyers. See its meaning, types, and purpose explained.
-
What Is a Fixed Cost? Definition, Examples, and Formula
Learn what a fixed cost is, how it differs from variable cost, real examples, and the formula to…
-
eCommerce Business Insurance (2026) [Guide]
Learn what eCommerce business insurance covers, how much it costs, and which policies protect your online store.


Leave a Reply